Help Centre / Appointments & Scheduling / Creating an appointment
Creating an appointment
Put a job, site visit or callout on your calendar.
Appointments keep your bookings in one place and can be tied to a client and a location so everything you need for the day is together.
- Open the Appointments tab.
- Tap New, or the + button.
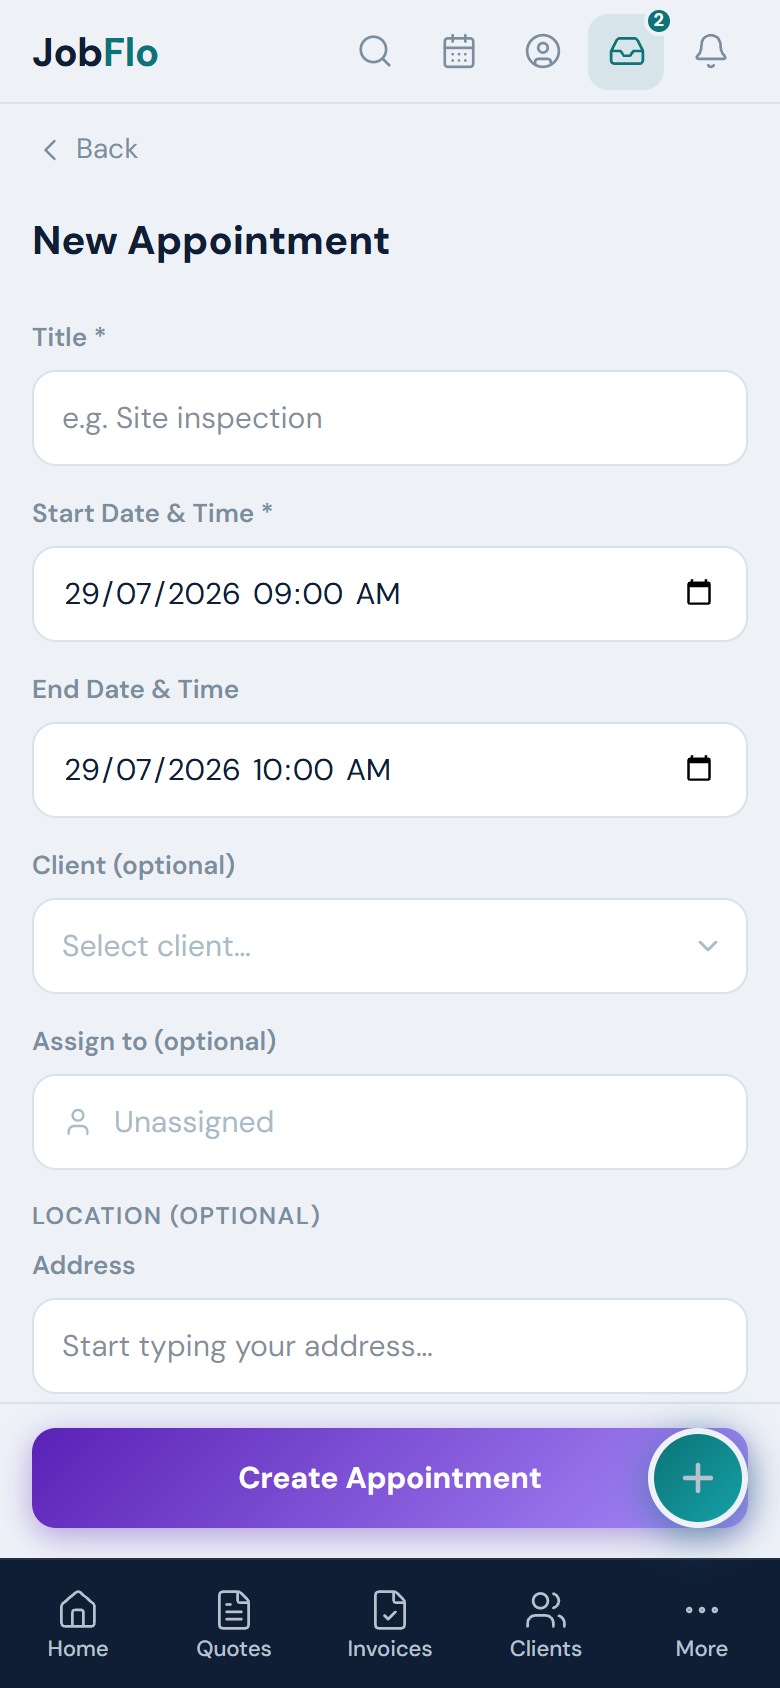
- Enter a Title, such as "Site inspection" or the job name.
- Set the Start Date & Time. The End time defaults to an hour later — adjust it if you need.
- Optionally choose a Client from the dropdown so the booking shows against their name.
- Add a Location by typing the address and picking it from the suggestions.
- Add any Notes, then tap Create Appointment.
Once an appointment has a location, tapping the address opens turn-by-turn directions in Google Maps. You can also tap any day on the calendar to start a new appointment already set to that date.
On the Business plan you can also Assign an appointment to a team member, so it lands on their personal calendar too.
Was this article helpful?
Related articles
Still stuck? Contact JobFlo