Help Centre / Expenses & Time / Snapping a photo of a receipt
Snapping a photo of a receipt
Attach a photo of your receipt to an expense, straight from your camera.
Keep a photo of the receipt with each expense so you have proof of purchase without hanging on to paper.
- Start a new expense: More, then Expenses, then Add.
- Under Receipt, tap Snap a receipt.
- On the app this opens your camera — take a clear photo of the receipt and confirm.
- Check the preview. To swap it, tap Remove and try again.
- Fill in the rest of the expense and tap Save Expense — the photo is stored with it.
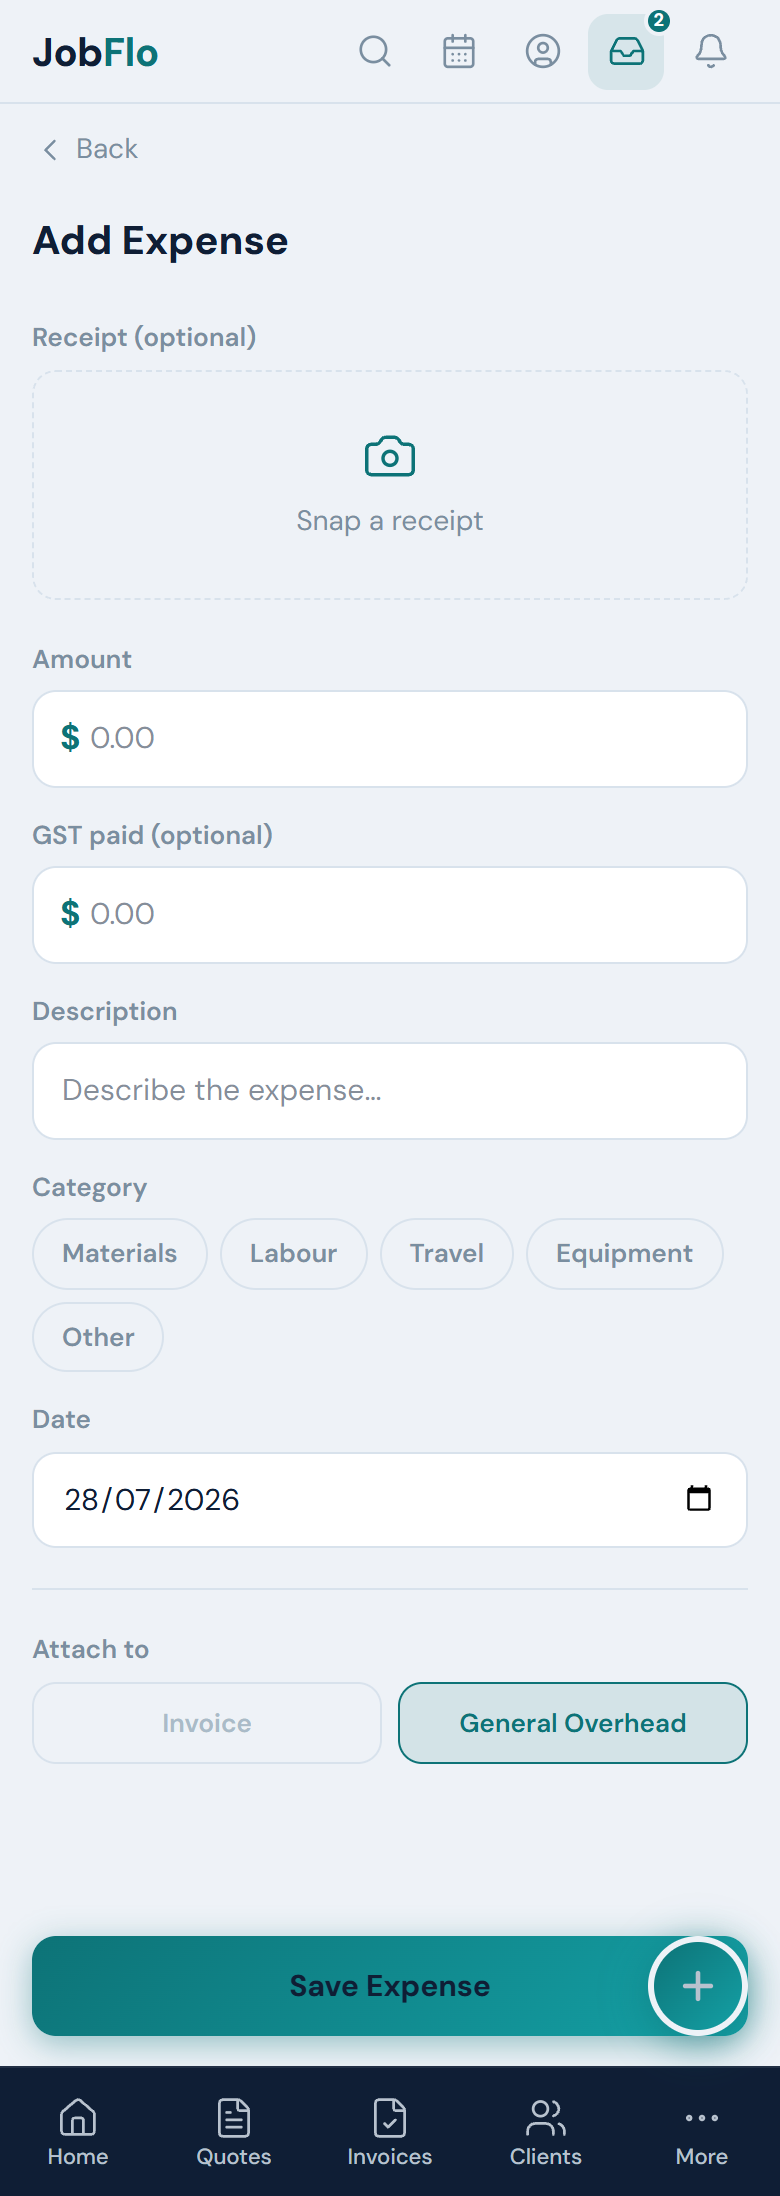
On the installed app, Snap a receipt opens your camera, and Or upload a file lets you pick an existing photo or a PDF instead. In a web browser, Snap a receipt opens your device file picker so you can choose a saved photo or PDF.
Once saved, the expense shows a Receipt tag in your list so you can see at a glance which ones are backed by a photo.
Was this article helpful?
Related articles
Still stuck? Contact JobFlo